Adding Variants to a Product
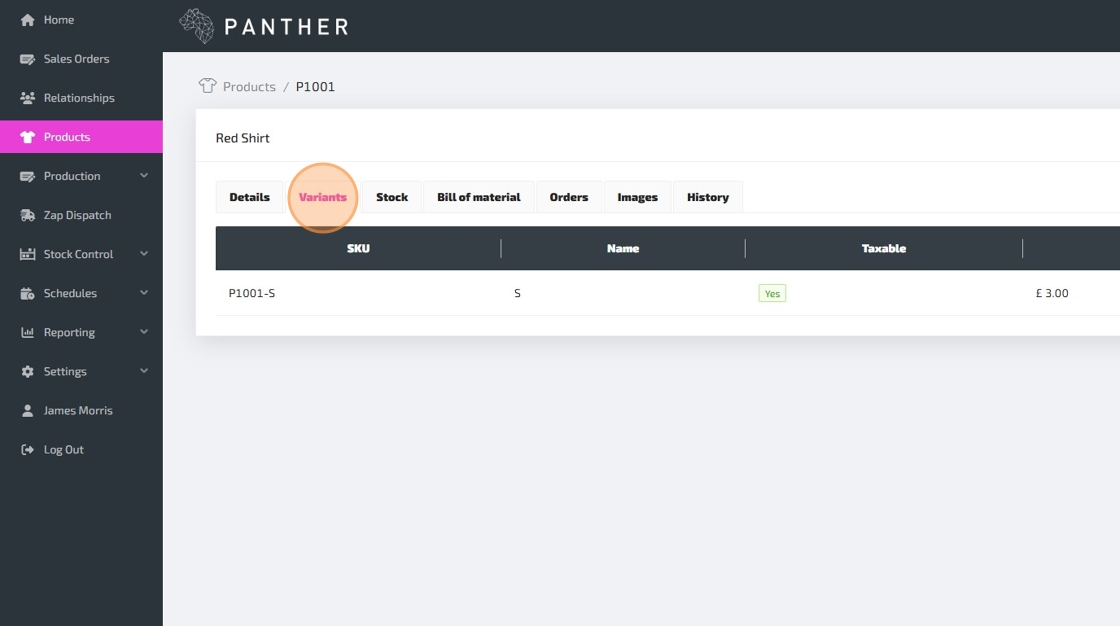
This guide is intended for Products which already have Variants. If your Product doesn't already have Variants, then you must first convert it from a Simple-Product to a Multi-Variant-Product. Refer to the Converting a Simple-Product to a Multi-Variant-Product guide for help with this process.


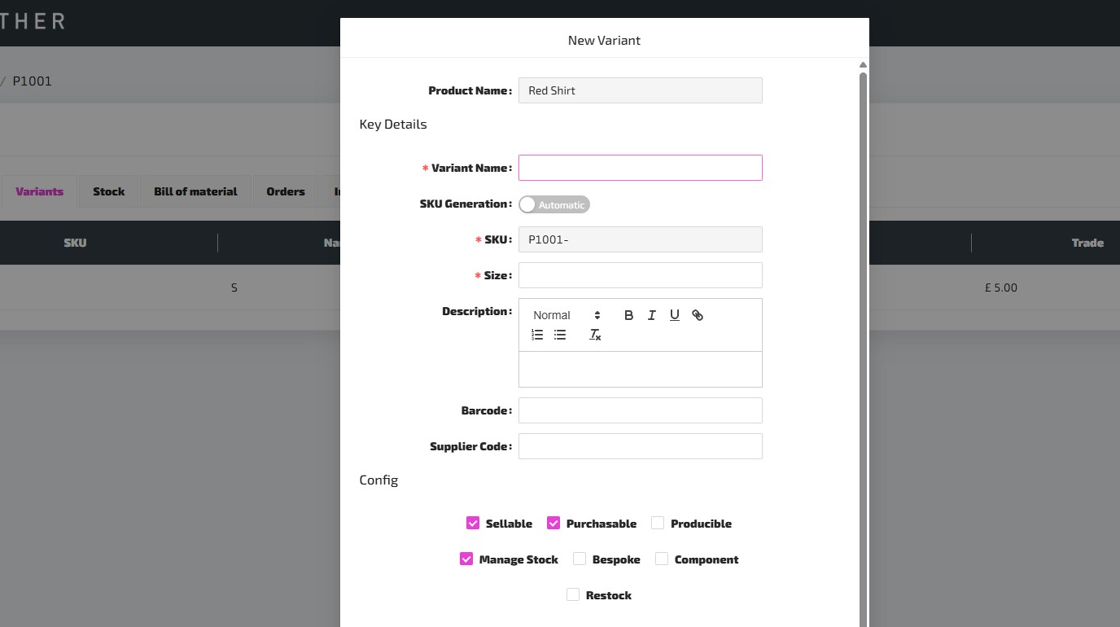
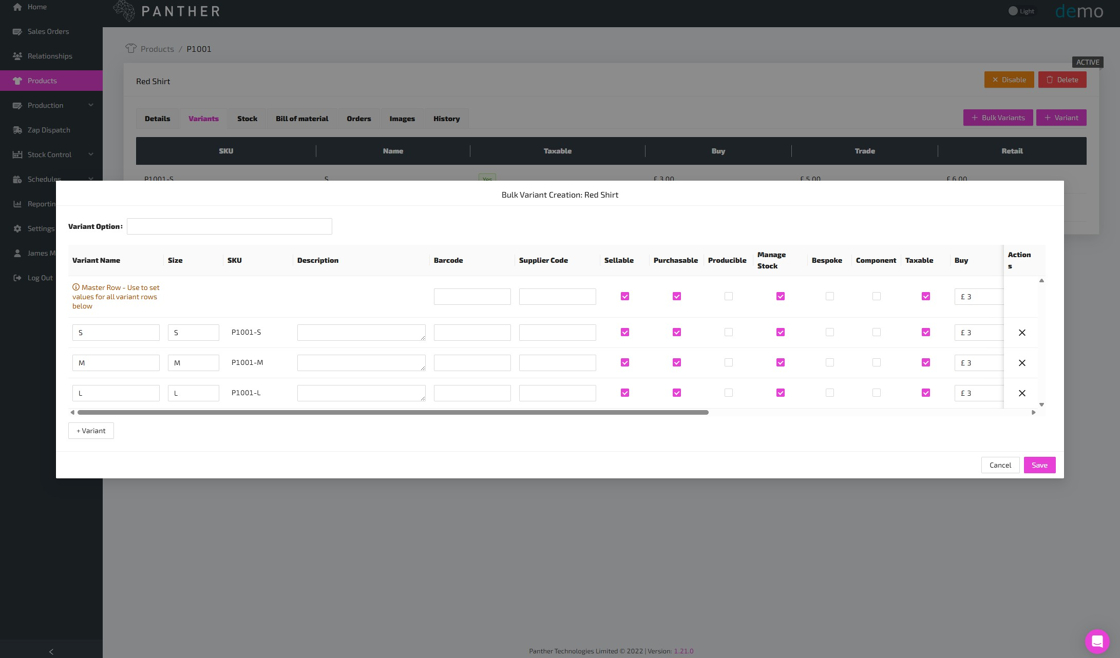
Here is a guide to help you understand each field, as you complete the Variant form:
-
Variant Name - This is the name of this specific Variant. There is no need to include the Product Name within the Variant Name, as the Product Name will often be displayed alongside the Variant Name when appropriate. Keep in mind that the Variant Name will be used to form part of the Variant SKU if SKU Generation is set to "Automatic".
-
SKU Generation - This is set to "Automatic" by default, which means that a unique Variant SKU will be automatically generated based on the Product SKU and the Variant Name. You can switch this to "Manual" if you would prefer to type in the SKU for your new Variant manually.
-
SKU - If SKU Generation is set to "Automatic", then this field will be pre-populated with an automatically generated SKU for your new Variant, and you won't be able to change this. If SKU Generation is set to "Manual", then you can type in a SKU for your new Variant manually. SKUs have to be unique, so you will see an error if you try to create a new Variant with a SKU which matches the SKU of an existing Product or Variant.
-
Size - This field is labelled "Size" in this example because "Size" is the Variant Option for this Product. In this example, the Size could be set to "Large". If there are multiple Variant Options for the Product, then there will be a field for each Variant Option.
-
Description - This works just like the Product Description field, but it should be a Description specific to this Variant, or it could be left blank.
-
Barcode - You can use this field for EAN/GTIN codes if you use them, or you can use your own internal barcodes. Assigning each of your Products/Variants with a unique barcode will allow your team to scan Products with a barcode reader at various points throughout your production, dispatch and stock management processes.
-
Supplier Code - If your suppliers use their own reference for Products that you purchase from them, then you can enter their reference here, and it will appear against the Product on your purchase order documents.
-
Config:
- Sellable - If ticked, this Variant will be available to add onto Sales Orders.
- Purchasable - If ticked, this Variant will be available to add onto Purchase Orders.
- Producible - If ticked, you will be able to create Bills of Material and produce this Variant via Production Orders.
- Manage Stock - If ticked, Panther ERP will track stock levels for this Variant.
- Bespoke - This should be ticked if this Variant is made bespoke for a specific Relationship or Sales Order.
- Component - If ticked, this Variant will be available to add to Bills of Material, allowing you to consume stock of this Variant in the production of a producible Product/Variant.
- Restock - If ticked, this Variant will appear within Reporting > Re-Order Report, which can help you to replenish stock before running out.
-
Pricing:
- Taxable - Is this Variant taxable?
- Buy - By default, this price will be used for this Variant on Purchase Orders.
- Retail - By default, this price will be used for this Variant on Sales Orders.
- Trade - An alternative price which you could use for specific Relationships.
- NOTE: You can create and configure price lists via Settings > Configuration > Price Lists. You can then specify which price lists should be used by default for specific Relationships and Sales Channels.
-
Shipping:
- NOTE: These fields are usually required for international shipping, and some of them might be required for domestic shipping.
- Weight - The weight of this Variant. The unit is set to grams by default, but you can select a different unit.
- HS Code - The tariff code for the Variant.
- Country of Origin - Which country did this Variant originate from?
- Customs Description - A detailed explanation of goods being exported.