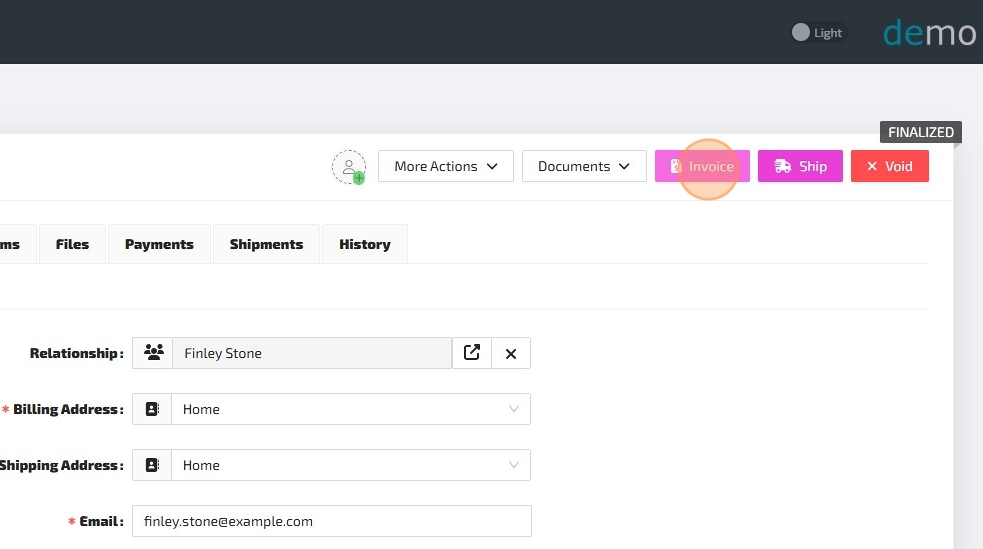
Invoicing Sales Orders
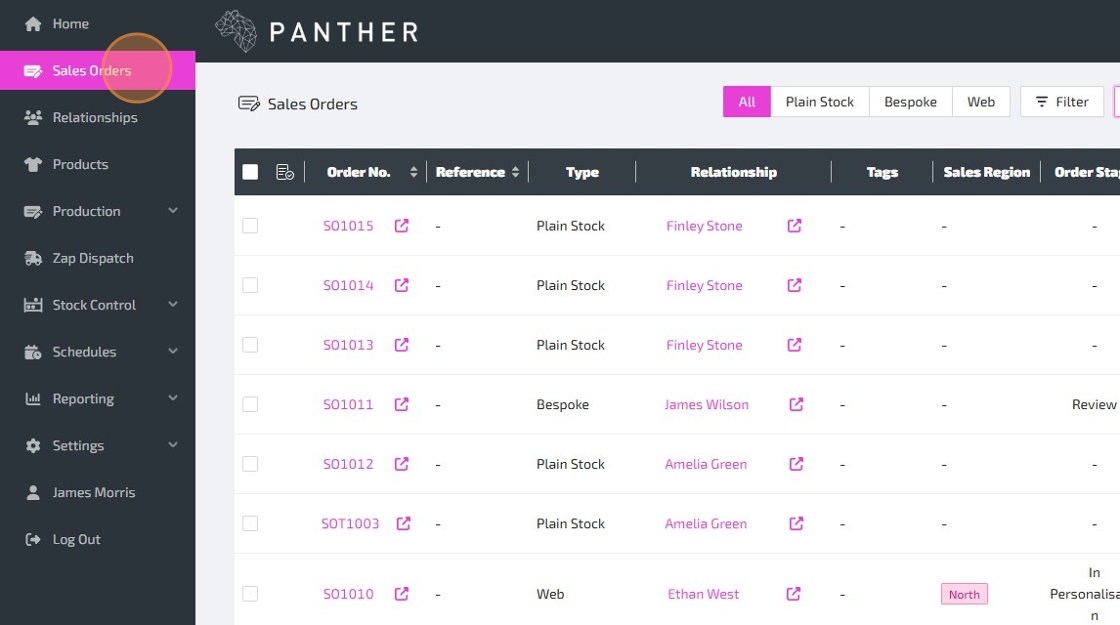
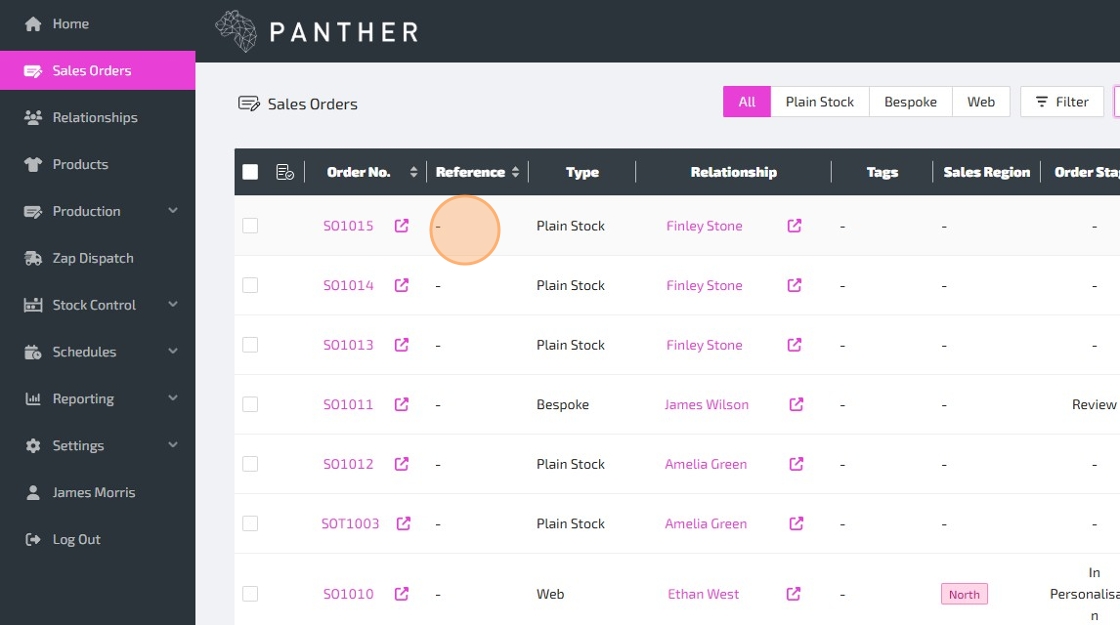
Sales Orders must be Finalized before they can be Invoiced.

Here is a guide to help you understand each field, as you review/amend the Invoice form:
-
Notes - You can use this long text field to add notes to the Invoice. This can be left blank.
-
Products
-
Quantity - This column shows the total Quantity for this Line Item
-
Outstanding - This column shows the Quantity of this Line Item which has yet to be Invoiced.
-
To Invoice - This field allows you to enter the Quantity of this Line Item that you would like to Invoice. This will be set automatically to match the Outstanding column, but you can change it manually per Line if needed. NOTE: The Max/Min switch in the column header can be used to toggle between Invoicing all Outstanding Line Items and Invoicing no Line Items. This can be useful in cases where you have lots of Line Items, but only want to Invoice a few of them.
-
-
Shipping
- Invoice? - This allows you to select which Shipping Lines you would like to Invoice. By default, all outstanding Shipping Lines will be set to "Yes", but you can change this manually using the switch.
In summary, you do not need to make any amendments on the Invoice form. If you do not make any amendments, then all outstanding Line Items will be Invoiced.


You can view and configure Email Templates via: Settings > Configuration > Email Templates.
If you have an accounting integration setup (such as Xero or QuickBooks), Invoices created in Panther ERP will sync to your linked accounting system automatically.


Here's a brief overview of the Invoice actions:
-
Document - This button will open the Invoice document, allowing you to download, print, or email the Invoice.
-
Link Payment - Link an existing Payment on the Sales Order to this Invoice.
-
Void - Void the Invoice. This can be used in cases where an invoicing mistake has been made.
If you have an accounting integration setup (such as Xero or QuickBooks), Voiding an Invoice within Panther ERP will DELETE the corresponding invoice within your linked accounting system.